27 January, 2014

Joined! 2014 Ready-To-Wear Fast and Stashbusting Sewalong

Like Groucho Marx, who is famous for his line I don't want to belong to any club that would have me as a member, I tend to be a non-joiner.  But I do recognize the pleasure of companionship of the like-minded, and have on occasion deviated from my anti-social individualism.  For example, though I've since removed the badge from this page, I participated in Go Chanel or Go Home.


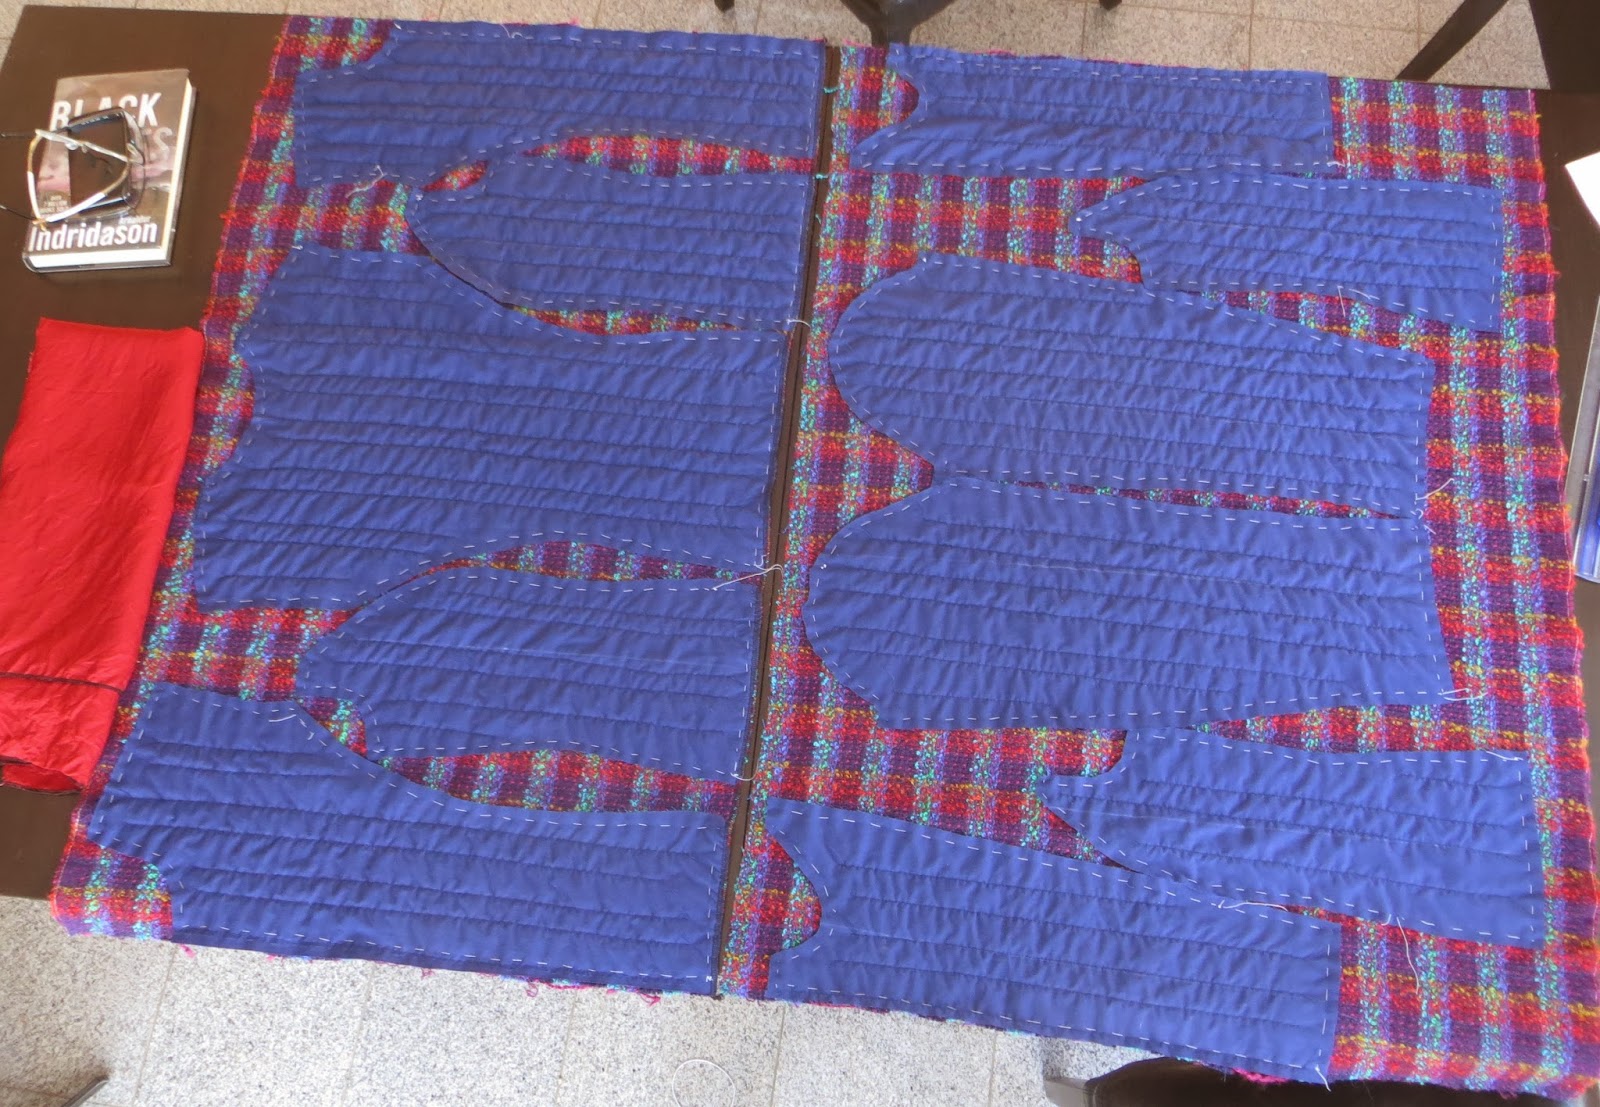
That particular sewalong began in July 2009. It was terrific.  We learned the classic design details and steps of construction of a Chanel jacket, and watched each other's progress in making the real thing.  Though I'm yet to make one using all of the classic techniques, I made two jackets during that sew-along.  The vented three-piece sleeve and the patience needed for all the extensive trim application were my biggest takeaways. And slowly-slowly, I'm edging towards the no holds barred, full blown couture techniques real deal. Soon.

Last year, Thewallina hosted a Little French Jacket Sewalong.


I didn't spot that one until it was fairly far along, so didn't have the option to join, but I still love how she had organized the main page with links to each step, as that allows me to review the techniques even now.

I also participated in the 2008 Great Coat Sew-Along, which didn't come with a badge, but sure got fantastic results from everyone there.  I made a lightweight wool tartan wearable muslin that still serves me well as a throw in my ever-frigid Canadian office, an easy Burda cocoon short coat, and, my piece de resistance, a siege-of-Stalingrad-worthy greatcoat. Apart from these results, which still form the backbone of my winter wear, the most valuable takeaway of the project was the creation of a true muslin and the sew-along members' helpful comments in correcting fit. The lessons on underlining, interlining, and various approaches to lining were also terrific.

But, of course, there are many, many more sewing related community activities that I have yet to join. Just to mention one, and it's a recurring theme, is the "Sewing with a Plan", or SWAP, which makes its appearance every year and is tremendously popular.  For 2014, it's an "Algebra SWAP". Why haven't I joined?  Lack of time to plan a story board, and a niggling feeling that I'd be too impatient to actually complete the requisite 11 or so garments without getting distracted and in the allotted time.

So this year, I joined two groups in which one commits NOT to do things!

Sarah of GoodbyeValentino.com is hosting a Ready-to-Wear Fast:  the group's members commit not to buy ready to wear clothing for the year.  How easy is that?! Over the past few years I've managed to accrue quite a comprehensive sewn-by-me wardrobe, and right now can't even imagine buying anything off the rack for myself.  And the fast doesn't include one's menfolk.  Yea! I won't have to sew men's shirts or jeans or anything! Waaaay too easy.


Secondly, Tumbleweeds in the Wind has announced a Stashbusting Sewalong.  Definitely in!  My "stashbusting lite" commitment pledge says: I commit to sewing from my stash first, and if fabric purchase is unavoidable in order to complete a project, to using at least two lengths of fabric from stash for every length I purchase. Notions and linings not included, as I don't stash any of those.  Sneaky, eh? I didn't actually commit not to buy any fabric - just to sew twice as fast as I buy, so by year's end I'll have less fabric than right now.  Whereas the RTWF commitment is easy, not buying fabric will be hard. Very, very hard. I know there's always more fabric, but the fabrics out there are so wonderful, they're nigh impossible to resist.

So, to bust the stash I must sew: and I better get at it!

23 January, 2014

Rainbow jacket: finished!

Declaring a long project completed is a very satisfying moment.

 
I see a slight imperfection in the way the chain lays on the right pocket.  A couple of stitches ought to fix that.


Below is a close-up showing details of the trim: the yarns I threaded through the chain are quite varied. There were at least four different ones in each. I tried to match the predominant surrounding colours.  Now that I see them all together, the pocket trim seems a bit too blue to me. There are blue, green, and navy threads in there, yet the photo makes it appear very monochromatic.  I know it's all a matter of personal taste, yet a purple thread might improve matters and bring it closer to the sleeve trim.


And  on the live "dummy"; as my photographer remarked, the quality of the photos is limited by the subject matter :(


The pic above shows all that's wrong with hooks:  the jacket doesn't ever really close or stay closed.  I'm not crazy about hook closures.  I'll move those hooks inward and maybe that'll suppress the center front gaposis.


In my previous post, BeccaA asked why I included structured jacket techniques (chest shield, sleeve heads and shoulder pads) in a cardigan style jacket.  Hmmm.  First, I wanted to do the Chanel style quilting to an underlining to begin with.  The fact that I had no room for 1" seam allowances aided in that decision:  the classic cardigan method simply wasn't feasible here. Then, when the sleeve issues arose, I knew that sleeve heads would be necessary, so that dictated the other "structured" touches. And I like a structured jacket.  My red version, which has no shoulder pads or chest shield, feels slouchy and (perhaps because it's a little on the big side) sloppy.   But there's one more thing:  a question of self confidence.  I just wasn't sure that I'd have the patience to do all that piecemeal hand-sewing of the lining, nor that I could make it look good enough.  Really.  As it turned out, this jacket took a lot of hand work, so I now suspect I probably could manage to produce one using only the classic cardigan jacket method and see it through to the end.  

With sewing, there's always a next time! :))


21 January, 2014

Rainbow jacket: finishing touches

Once I solved the troublesome sleeve issues, the rest came together nicely. Here are just a few more construction details:

I added sew-in hair canvas chest shields, placed on the bias.  Since the FF was quilted, it was very easy to stitch the shields onto the quilting just inside the sewing allowance.  I had a little fun using up last bits from my bobbins, thus the different thread colours. The bottom of each shield is pinked and left free.


I added a rather large patch pocket to the left inside lining.  It has a pleat at the bottom - this prevents any contents from pooching out and dragging on the jacket itself.  


I added two patch pockets to the front.  Yes, really. Can you see them? I assure you they're there.

Patch pockets on lower fronts.
They're easier to spot from above, especially when pulled open.  I double-lined them, so that pocket contents wouldn't snag on the bouclé. The lining that's attached to the body is about 1 cm or 1/2" shorter than the pocket, to make it less obvious during wear.

Now you can see the pockets very well
I added sleeve heads made out of polyester quilting batting and foam shoulder pads.  The sleeve heads were really essential to filling out those enlarged sleeve caps, and went a very long way to smoothing out most if not all of their easing imperfections. 


I still haven't added closures to the front, and am yet to add any trim. The FF is bright enough by itself - yet trimming it up is de rigeur for the classic Chanel jacket. Should I or shouldn't I? I almost convinced myself to leave well enough alone, then came across this Crimes of Fashion (love the name) jacket, all blinged up. Oh yes, a little gold for my rainbow would really make it shine.  As it happened, I had just purchased a length of chain to weigh down the hem, so I tested the look: 


On one side the chain is simply laid on top of the garment.  On the other, I threaded a couple of the bouclé threads through the links.  


It's a subtle difference, yet like the second look better, it integrates the trim with the jacket.  What say you?  


I think I've enough bits and pieces left to pull enough threads for the job:  if I trim up the sleeves and pockets as well as the front, I'll need enough to thread 2.6 meters of chain.  Won't that be a perfect make-work project for an afternoon or two!

18 January, 2014

Rainbow jacket: troubles with sleeves

Building this jacket hasn't been completely smooth sailing.  I spent a good long time on discovering, and then slowly solving, sleeve problems.


First, once sewed together and body tested, the sleeves felt much too stiff and somewhat too tight.  The solution to that was not particularly difficult:  bit by bit, without disassembling the already-made sleeves, I cut away nearly all the quilting.


By the time I finished, the only little bit of blue underlining left on each sleeve was about 5 cm at the cuff, and what had already been caught in the vertical seams.  Those two lines of what remained in the last quilting lines after the rest was pinked away, in the pic above, were also removed.  I also re-stitched the back sleeve seam about 1/4" wider, adding 1/2" to the circumference.  Not necessary, but an uncomfortable garment is one that doesn't get worn, right?

The second sleeve problem was equally unanticipated and rather harder to solve.  Call me naive, but I was under the impression that if the fabric stripe or check of the body piece is matched to the undersleeve, it'll similarly match all the way along the sides and at the sleeve cap. In theory, it should.  In this case, if I'd used the single piece sleeve of NL6516, perhaps it would have.  But I used a sleeve from V7975, and as it turned out it was too shallow.   Here's how:


At left are the back body pieces.  I numbered the armscye blue stripes: there are four of them.  At right are the sleeve pieces, and the blue stripes for the back half of the sleeve's armscye curve are also numbered: there are only three. The fourth stripe needed for a proper fit is missing, and the sleeve cap is too flat and too short to fit in the body correctly.  Oh, I'm sure I could've stretched and strong armed it (pun intended!) into the armscye, but the stripes wouldn't have matched, it wouldn't have looked good, and it very likely wouldn't have felt good in wear.  So how did I solve this problem?  I increased the size of the sleeve cap.


I sewed a strip of fabric two blue stripes high just above stripe number two of the upper sleeve.  I had just enough small pieces of fabric left over to do that.  After that, I really winged it, tacking the sleeve in tiny little increments here and there at important match points, eventually sewing it in by hand with very small stitches, and only after it was all in to my satisfaction (not perfect, mind you, but acceptable!) I machine sewed the lot just inside the hand stitching, for security.  You can just see that horizontal seam in the sleeve above, it's in the purple-magenta stripe.


 After many days, the sleeves are finally in. I have learned my lesson!
I free-handed the cap increase in the lining, and pleated rather than eased the cap into the lining body.  I always pleat out the sleeve cap excess in my linings - it's easy, quick, and comes with no functional penalty.  How about you?


Here's where I diverge from the classic cardigan jacket construction: the lining is a standard one, with an ease pleat in the back and one side seam left open, and it'll be "bagged" into the jacket.    

16 January, 2014

The Rainbow jacket: early stages

For my second garment of 2014 I turned to a lovely little piece of colourful wool bouclé acquired a couple of years ago at Ottawa's fall Fabric Flea Market.  With its yellow, orange, red, light blue, violet, and navy, all it lacks is a bit of true green to make it a little piece of rainbow, and it shimmers like it, too.  The piece was small, so when I got it I was probably thinking of a skirt;  but when I laid it out, I thought, well, it just might be enough for a little jacket at that.  A rainbow Technicolor Dreamcoat sort of little jacket.


The piece was really small for a jacket:  42" wide by 53" long (110 x 135 cm).  That's too small to make anything with a collar or facing. Above, the two patterns lying in front of the little length of what is actually a very yummy and cheerful piece of wool hint at the direction I decided to take:  a "Chanel-style", aka, "French cardigan" jacket.  The upside of this kind is that it's lined to the edge:  what you see is all you need, in terms of the fashion fabric.  The downside is that, should you decide to follow the classic method, it's, ahem, just a tad time consuming.

Most of the time, to make the C-style jacket people choose either V7975 (at right in the photo above) or V8259 (the Claire Shaeffer's custom couture collection, reviewed on Pattern Review but no longer available for sale from Vogue).  Both have shoulder princess seams, but V7975 has a two-piece sleeve while V8259 has the classic vented three-piece sleeve, plus very detailed construction instructions.

Way back when, four years ago almost to the day, as part of my participation in "Go Chanel or Go Home", I made a very red boucle version using V7975. Live pics are linked via my pattern review here, though if you're not a member you likely won't be able to see them, as non-members are limited to only the past 6 months of reviews.  But they're also on the blog here.

So, how did that early red version stand the test of time? The jacket itself, pretty well, except.... The hooks I picked were of such appallingly bad quality that two broke off almost immediately.  I replaced them with a separating gold-coloured zipper that matches the exposed zipper of the skirt.  I still wear the jacket, usually with black slacks, although it really feels at least a size too big now - I probably made it a bit too big to begin with, and have dropped a size or two since. I considered unpicking the hem and taking it in, but my husband - aka the critical eye and voice of reason - objected, saying that there's nothing wrong with a loose-fitting jacket. He's right, right?  The matching red boucle skirt, I almost never wear.  Too much red all at once, I think.

Anyway, back to the project at hand.  Over time, I discovered that armscye princess patterns tend to yield a better fit for me than the shoulder princess.   Therefore, for this version I turned to New Look 6516, a pattern I'd used very long ago for a jacket I still love though it was an early and very flawed creation; despite that it's one that fits me better than any other I've made.

To cut to the chase, I tested the possibilities by laying pattern pieces on the folded fabric, then cut out underlining pieces out of lightweight cotton broadcloth, laid them out, and basted them onto the fabric.  Of course, with the very obvious check pattern, the aim was to have the lines match up across the body and sleeves.

Cotton quilting/underlining, basted onto fashion fabric.
Above's the layout.  The body pieces weren't difficult to place - basically, all body hems were placed on a blue check stripe and that was that.  Matching the sleeves was a bit trickier, and, I thought, as long as I match the undersleeve check to the side seam check, all would be well.  Right?  Well... yes... almost right. More on that later.

One little thing about NL6516 is that it has a single-piece "tube" sleeve. A tube sleeve would not have fit on this measly little scrap of fabric.  This is counter-intuitive, I know - a single-piece item should fit into a smaller area than two pieces - but in this case, the sleeve pieces had to share real estate with side back body pieces, and the ONLY way to make them play nice was to use a two-piece sleeve.  Which I did, using the sleeve of V7975.

In the Chanel construction technique, one is advised to cut out the FF (fashion fabric) pieces with 1" seam allowances before quilting, since bouclé can be of a very loose weave.  Obviously, such allowances were not within any realm of possibility here, so, to make things easier to handle under the machine needle, I cut the piece in half just below the hem line of the body pieces to the right, and quilted everything without cutting it all up into all the individual pattern pieces.


So far so good?  Yea.  The red bemberg lining at left is what I picked to go with it;  I'd thought of navy blue originally, but a good match wasn't available at the store, and my second attempt at dyeing the light grey lining I'd used for the navy velvet jacket failed utterly.  [And I think I know why:  it turns out that my mystery grey lining is acetate, a type of cellulose-based man-made fabric that's sufficiently different from rayon that dyeing it is not as straightforward. I dyed it a nice dark blue, then washed and dried it:  it returned to light grey.  Live and learn....].

After the quilting, I placed the tissue pattern piece on each quilted piece, adjusted orientation to match its lateral (left/right) mate, cut it out, and immediately serged all edges.  Probably a bit of overkill as this particular bouclé wasn't especially ravelly, but it safeguarded every little millimeter I had:  better safe than sorry!

Here's the result, ready for assembly:


Above, you can see that the body pieces are pattern-matched with respect to the hem line. The undersleeve placed at the centre is matched to the side seam lines of side front & side back. 


And the top sleeve pieces have their horizontal stripes matched to the stripes of the under sleeves.

Yea.  I do believe I'm going to get a jacket out of this little scrap of wool!!!!

03 January, 2014

Midnight blue velvet jacket: done!

I truly enjoyed constructing this item from the start: pattern planning and adjusting, to its finish: planning the wardrobe pieces to go with it. I'm happy to have added another pattern to my go-to pile, and a bit of experience on that particular type of collar.

NL6013 with silk twill that could be a perfectly matching dress. Instead of a fashion fabric belt loop, I made a concealed thread loop to button up the fronts, on the rare occasions I'll wish to do so.   
Since I have more time right now than normally, I had some fun adding details not in the NL6013 pattern. On the front, I added angled double welt flap pockets and a single welt breast pocket.  Does it reflect my inspiration? Reasonably well, I believe.


To the back I added a double half-belt and buttoned sleeve vents.  Nice?  I think so.

I also took the time to give the invisible portions a little oomph.  Not only did I interface the under collar with fusible tailoring, but I also added a softer knit-based fusible to the fronts and side fronts, facings and upper collar.

Jacket body, inside out.  All fronts are fused with knit fusible, under collar with tailoring fusible.  The pockets and their pocket bags are already completed.
I also fused the sleeve and jacket hem.  Because I didn't want the velvet to rumple like a bathrobe, I added cotton half-underlining aka backstay to the upper parts of the back and side backs.   

Jacket, complete and ready for lining.  I used quilting batting for sleeve heads. Sleeve and hem are tentatively turned up. 
The lining and facing, ready to be combined with the outer jacket.  
As you can no doubt deduce, I constructed the lining (plus self-drafted back neck facing) and upper collar as a whole, and then combined this with the jacket by (almost) bagging the lining: actually I sewed the collars and front facings in one go, then the back hem to back lining as a separate seam.  Because the sleeve hems were already turned up, attaching the lining by machine at the sleeve hems wasn't really feasible, so I did that by hand.  I also pick-stitched around all the edges:  fronts, collar, hem, and sleeve hems.

So, that's my first project of 2014! When the temps crawl out of the  -27C deep-freeze we're having right now, I'll try to get an outdoor live-body pic to add here.  :)


01 January, 2014

Blue is the colour of the future

Other than a couple of seemingly trivial but very necessary projects such as warm fleece pillowcases for my  bald and thus perpetually cold head, I haven't sewn for myself since before I deployed to Kabul nearly a year ago.  Since my return, all my can-do efforts have been directed at others: home, family, friends, certainly not at me.  Why?  well, pardon the black humour, but dead people don't need new clothes; sewing for me struck me as the worst kind of wasted effort in a race against time.  Yet here I am, nearly six months since the Big C entered my home, and not only am I still standing, but doing pretty well it seems, and beginning to feel hopeful.  So when I was left with a sizable remnant of midnight blue cotton velvet left over from making a Christmas gift dressing gown for my eldest, I thought:  why not make something for myself?  A velvet jacket, wouldn't it be lovely?  Maybe I'll even get to wear it, who knows?   

I had to add another metre to what I already had, and buy a few buttons and some fabric dye for the lining, so I'm counting this one as a $15 jacket.  

My idea was a shawl or tuxedo collar jacket; I thought that a shawl collar would go nicely with the softness of the velvet, and be very feminine in a structured way.  I spent a little time browsing the web for inspiration, and settled on this Alexander McQueen blue velvet blazer. 


Not that I intended to copy it slavishly, definitely not, but it gave me ideas for a few extra touches I wanted my jacket to have so it could rise above the pattern I picked. 

And the pattern? New Look 6013.   Cute, I thought, with the single button just holding together the dropped angled fronts.  One thing I wasn't crazy about was the shoulder-pleated single piece sleeve:  first, it seemed to widen the shoulder area and I already have pretty broad shoulders as it is, and secondly the pleating could turn into a general fail with a thick fabric like velvet. I also don't think a stovepipe sleeve is the greatest idea in a structured, lined jacket.  So I substituted a two piece sleeve from McCall's 5395, though any other two piece sleeve you might have on hand would presumably work just as well. I'd used M5395 a few times already in some unlined summer jackets, so I knew it fit my arm just fine.  Below, you see the two patterns I put together for this project lying on the dark blue cotton velvet fabric I used.  The M5395, btw, is so out of print it doesn't even appear on McCall's web page.  Pity!  It's a great pattern:  the two front darts give an amazing fit to well endowed but small-waisted figures.  

Blue cotton velvet jacket:  New Look 6013 body, McCall's 5395 sleeves
The NL pattern is unlined, but since cotton is so grabby I knew this one would need to be lined.  Using the back pattern piece, I made a back neck facing and a back lining with a 1" pleat pattern pieces, and those, combined with the side fronts and side backs, gave me the lining. 

Per the A.McQ. inspiration, I notched the pattern up a bit with the following additions:  single-welt chest pocket; angled double-welt flap pockets at the hip; and vented sleeves with working buttonholes and buttons. And, of course, a lining, which is absent in the NL pattern. 

Speaking of the lining:  I had a substantial length of rayon (according to my burn test) lining from who knows where - its origins lost in the sands of time - but still a beautiful beefy twill weave rayon, much nicer than your run of the mill Bemberg (apologies to B....).  Only my piece was a nothing to look at light greyish beige: yuck!  So I dyed it.  

The dyeing exercise was quite the learning experience.  I started with a Jacquard acid dye that is completely unsuited for cellulose based fabrics. Of course it didn't take - but I twigged onto that early enough, ie., before pouring the dye solution away, that I could grab a bit of winter-white silk and dye that instead.  I then used Dylon dye on the rayon.  It took, though not as strongly as I'd hoped, and instead of a deep violet gave me a kind of pinkish periwinkle.  Still a nice contrasty match for my midnight blue velvet.
Left:  rayon lining dyed with Dylon Intense Violet.
Right:  silk jacquard dyed with Jacquard Acid dye, Sapphire Blue.
Original fabrics on the bottom, dyed on the top.
Those stage-setting steps put me well on the way to construction.  Which I'll cover in my next post.  :)