
Not a whole lot of sewing has been going on chez Straightjacket recently, but I did make this little jacket early this summer, from fabric I'd had in stash for a year or so - I seem to recall it's from Emma One Sock. Just fell in love with this colourful print and had to have it! Whereas in winter I tend to go for quite a subdued look, in summer I love it when my clothes reflect the wondrous riot of colour nature provides us.
I wanted a little jacket with simple lines that wouldn't cut into the fabric's painterly print too much, so I went trawling through my collection of patterns for something very unstructured. New Look 6619 fits the bill perfectly - it has a side panel instead of side seams, a one piece back, one piece fronts, and - quel horreur! - a one piece sleeve (with a sewn-on cuff). Normally I prefer to sew a two piece sleeve, but as this sleeve was intended to be a short one, I didn't think it would matter.
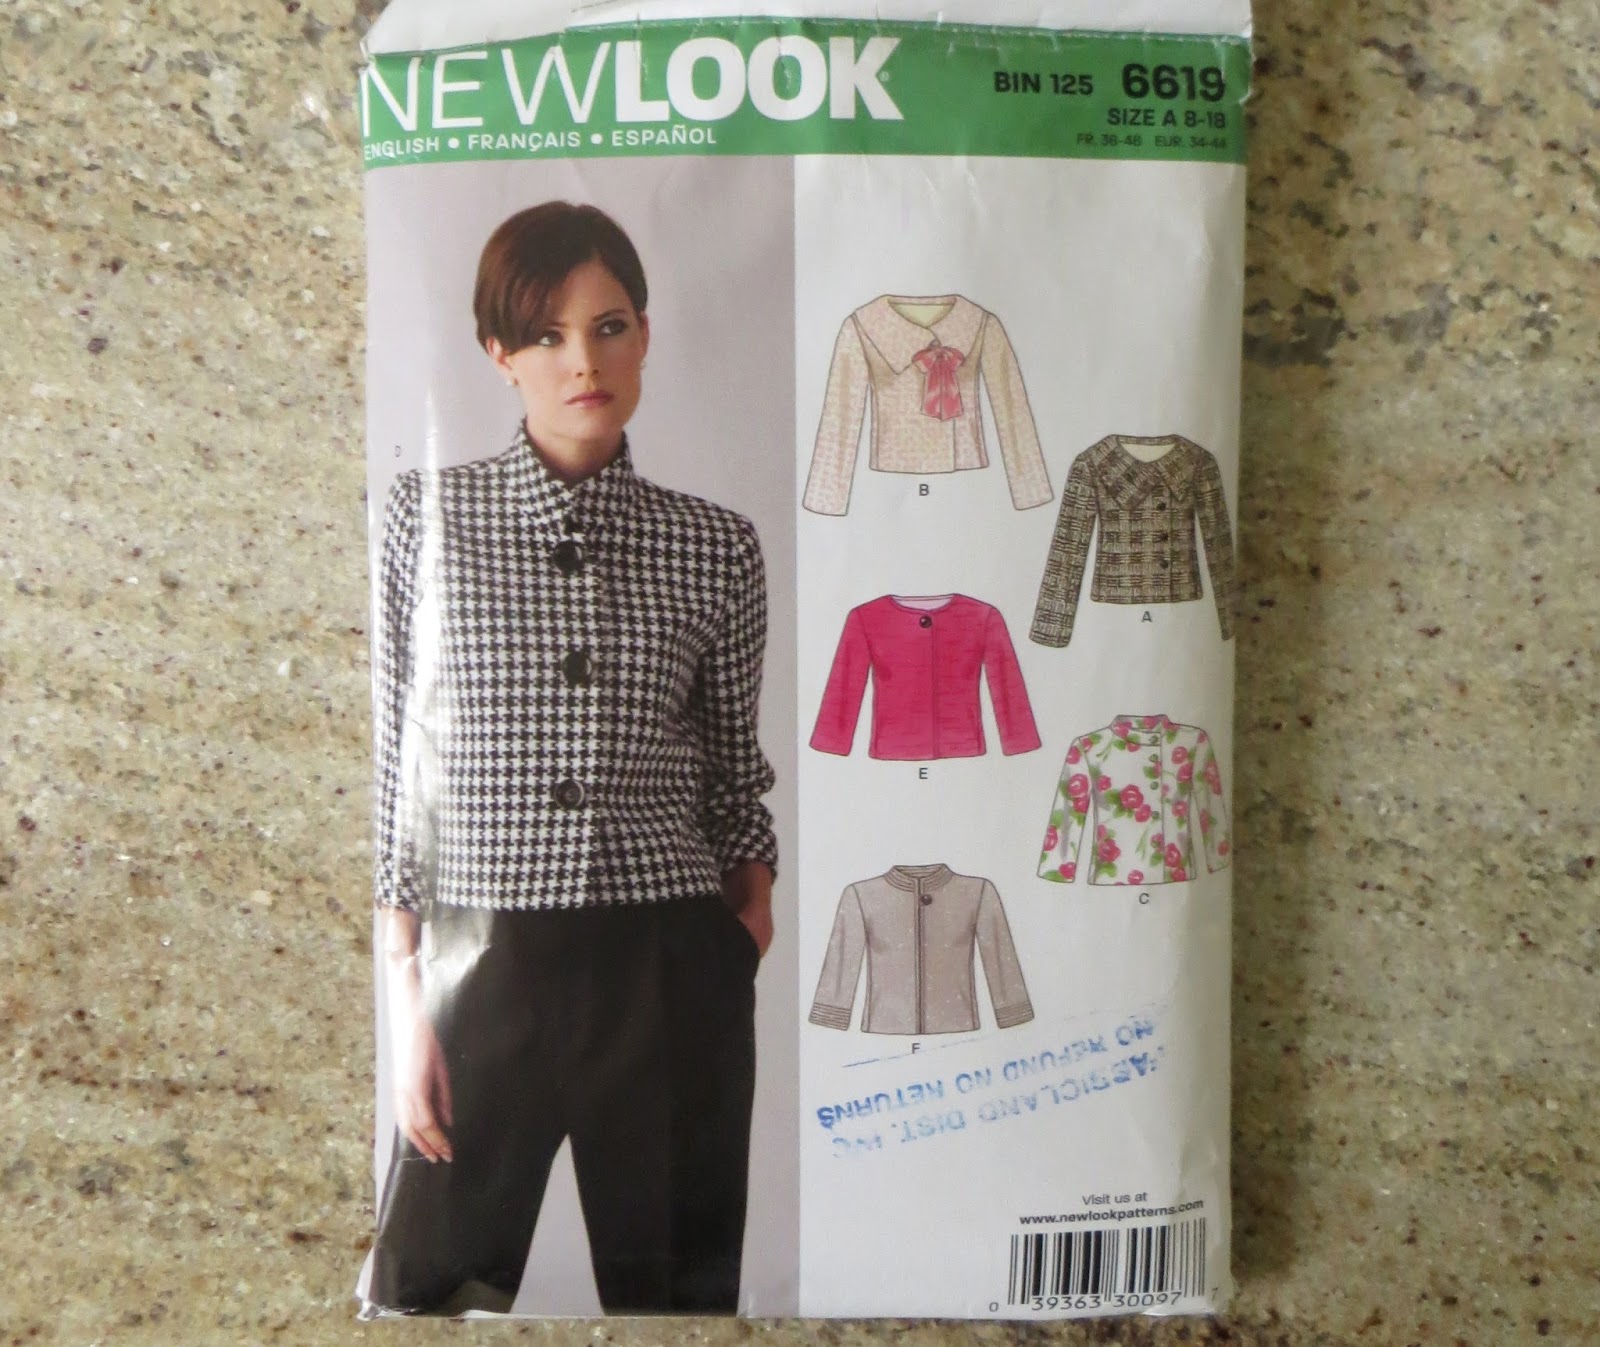 |
I made version F, with the low stand-up collar, in which the fronts meet but do not overlap. My collar falls short of CF by design - and I omitted the extensive topstitching.
I'd made some unlined linen jackets in recent years, in preparation for my stints in the extreme heat of Afghanistan, and they served me well there, but this one is intended to be worn in the much cooler - and heavily air conditioned! - spaces of Ottawa. So I was very pleased upon opening the envelope to learn that this jacket was designed to be lined, and has separate front facing and lining pattern pieces. Not that the lack of these would have prevent me from lining it - I'd just have drafted these myself from the front pattern piece. But still. All to the good.
To give the jacket's front a little visual interest and make it more functional, I added horizontal double welt pockets:

Front details:
One single big retro button with self fabric loop....

...and the said double welt pockets:

Side panel:


In my sewing, I always try to improve - which means that from one project to the next there may be new approaches. This time, I underlined (aka sew-in interfaced) the whole garment, including the sleeves and front facings, with cotton broadcloth. I wanted more body to the linen, and to give it support that would decrease its notorious tendency to wrinkle the minute you throw it a glance.
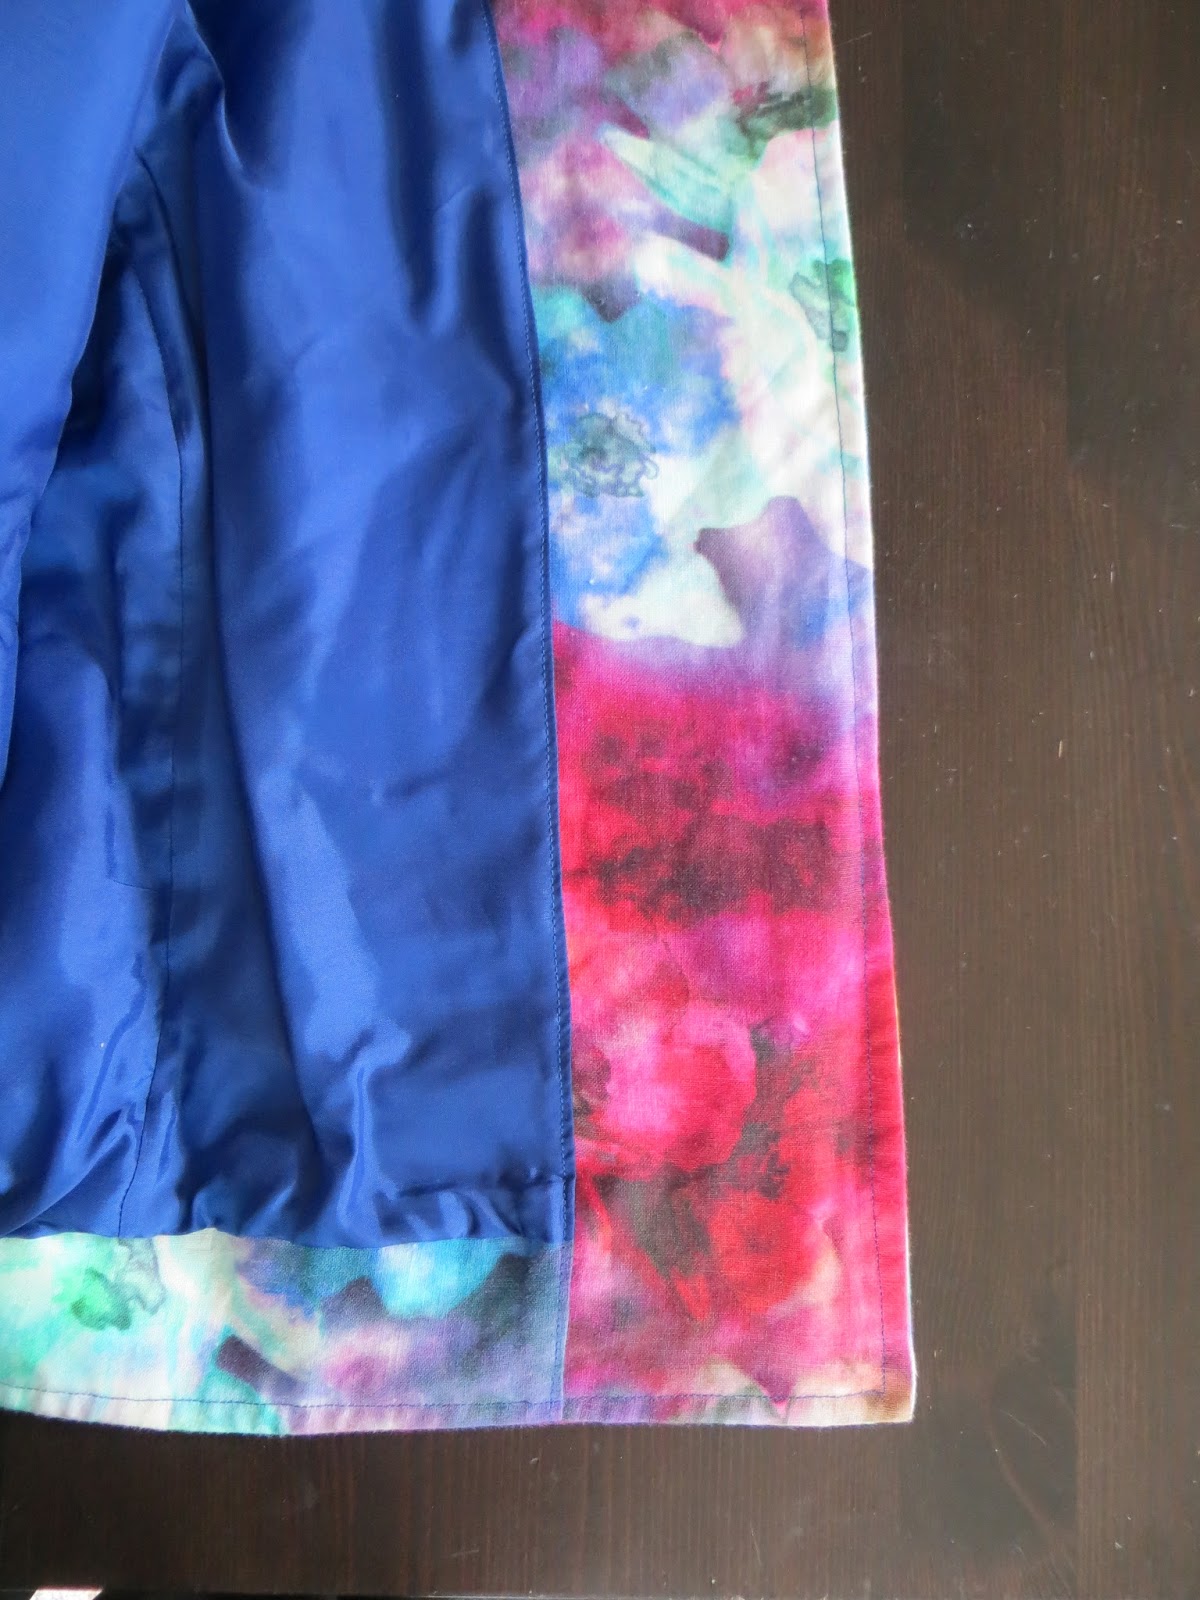
It's lined with bemberg rayon, in a lovely royal blue:
I first created the entire lining plus front facing plus hem facing (the hem facing was my own alteration of the pattern) as one whole item. That's how the front facing+hem facing connection came to be so nicely and tidily machine sewed. I then sorta bagged it: finishing only the neckline and sleeve lining hems by hand.
I have enough of this lovely linen left for a matching skirt, but I'll wait till next summer to make that. Why? well, as the saying goes, sew for the body you have now. This summer I dropped a few too many pounds, though not intentionally, and I'm hoping that by next warm season the scale will have rebounded at least a tad. So it would be very foolish of me to sew a skirt now that may not fit me next year.

In the meantime, the jacket looks pretty nice on top of black & white. :)


